How-to configure your IBM PureFlex Flex Systems Manager (FSM)
Flex System Manager is the management component for the FlexSystem stack. For a pure VMware setup, and only X series compute nodes, a FSM is not required. When running a hybrid environment (when P series blades are in place); a FSM is required. The FSM controls the application, network and storage virtualization for the P series compute nodes. One FSM will control up to three chassis’ (one rack) of equipment. Currently there is no redundancy available for FSM.
To begin configuring your IBM PureFlex Flex Systems Manage (FSM), you must first power it on from the IBM PureFlex Chassis Management Module (CMM). From there, you need to open a console connection to the FSM.
Once powered on and connected, you must configure the keyboard access to the FSM. Select option 2 and hit Enter.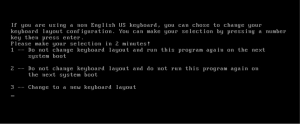
If you use option 1, it will prompt you for the keyboard configuration every time you reboot it.
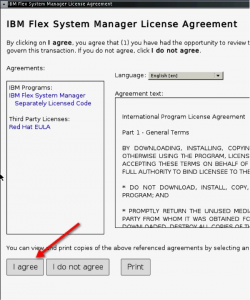
The FSM will now boot and you will see the License Agreement page.
Select “I Agree” and the installer will move onto the next screen.
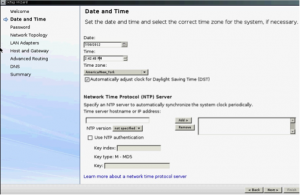
On the next screen, set the date, time, timezone and time-servers if applicable to your environment.
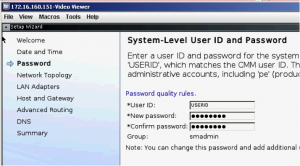
The next screen will prompt you to set the password for the USERID (root/superuser) account.
Click on next to accept the password, and the next screen will take you to the IBM PureFlex network topology diagram. There is nothing to configure here and you can click Next once you examine it.
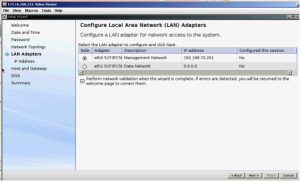
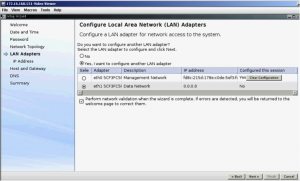
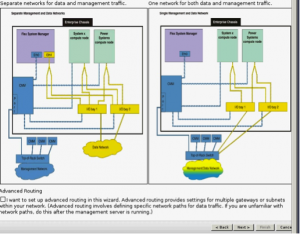 On the next page, make sure the eth0 is selected and click Next.
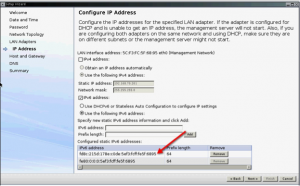
On this next scree, you will need to enter an IPv6 IP Address. It is recommended that you generate an IPv6 IP Addresses from the MAC address of the interface. You can use a utility like this to do so.
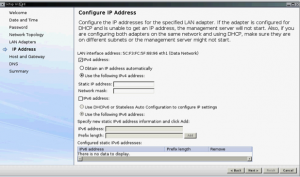
You then need to configure the second FSM NIC, eth1. For this, you will use a traditional IPv4 IP Address.
Configure the IPv4 IP Address
Make sure you uncheck the “Perform Network Validation” checkbox, otherwise the installer will force you to go through and re-validate your configuration.
Click next twice to get through informational pages.
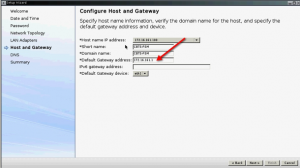
You then can configure the hostname and default gateway.
Click next, then uncheck the “Enable DNS Services” feature (unless you need DNS resolution).
Click Finish.
You can now go to the FSM homepage located at https://ipv4address
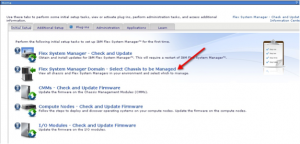
Select option 2 “Flex System Manger Domain – Select Chassis to be Managed”
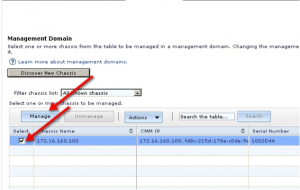
Then you can select the chassis available in the list, and then click manage.
You have now successfully configured your IBM PureFlex Flex Systems Manager (FSM) to mange your IBM PureFlex chassis!

