your home for end-user virtualization!
Configuring the vWorkspace Farm Properties
Start the vWorkspace Management Console and you will be presented with the Quick Start Wizard.
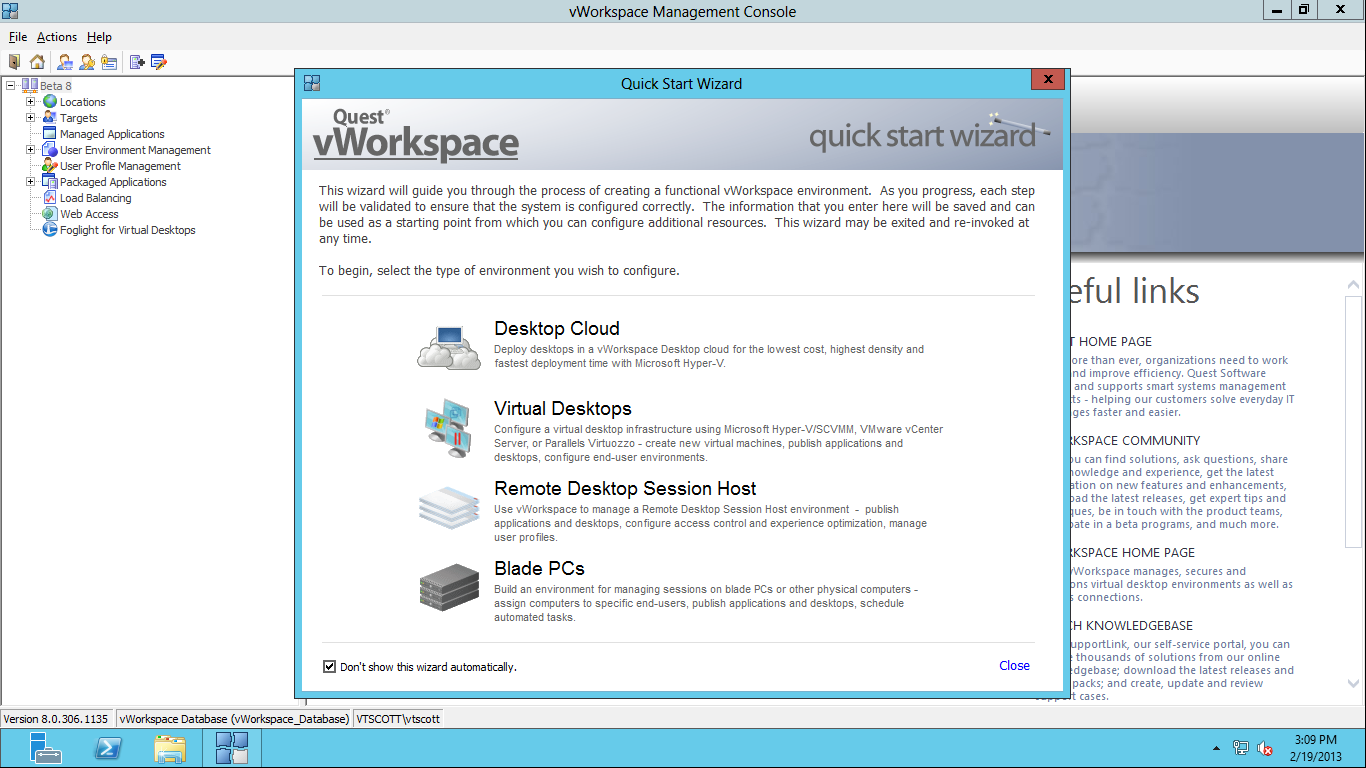
I generally do not use the Wizard so I will check the “Don’t show this wizard automatically” and then click close. Let’s start with the File Menu option in the top line menu.
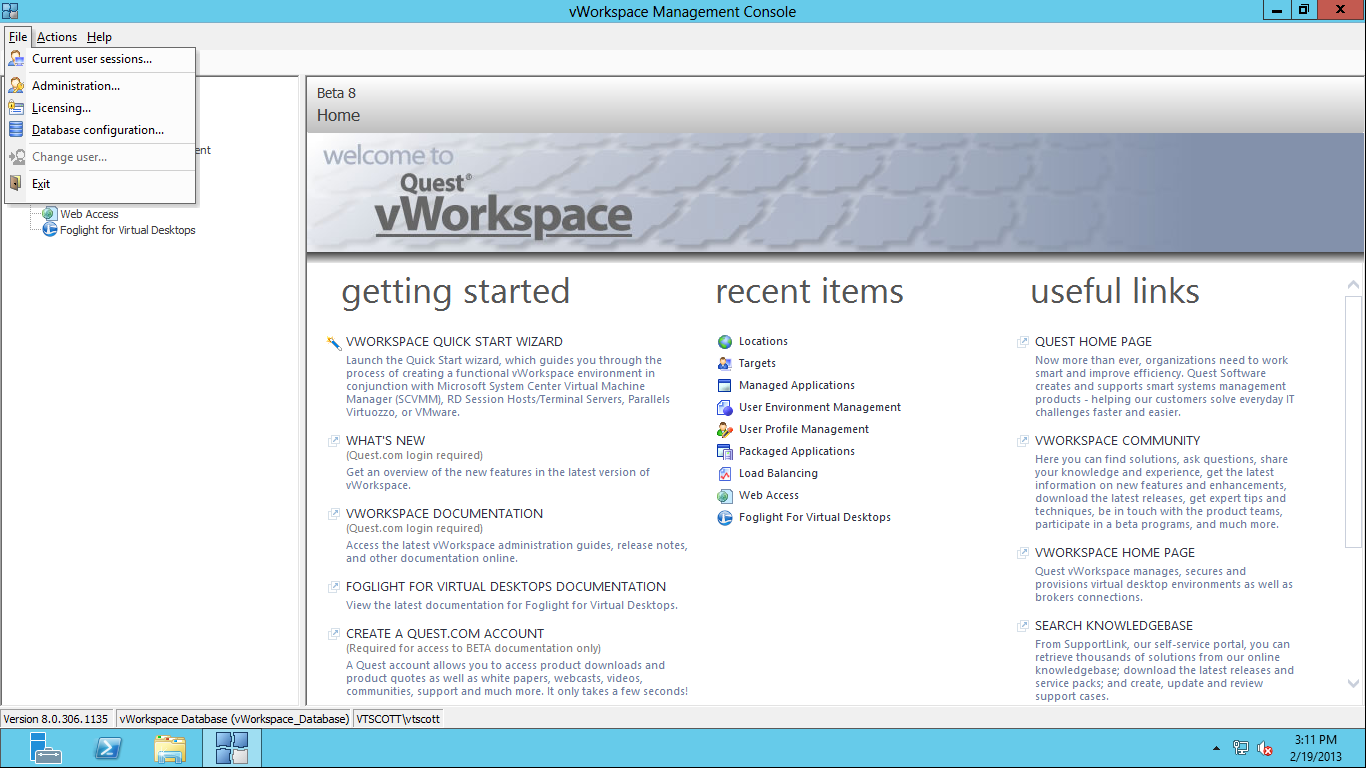
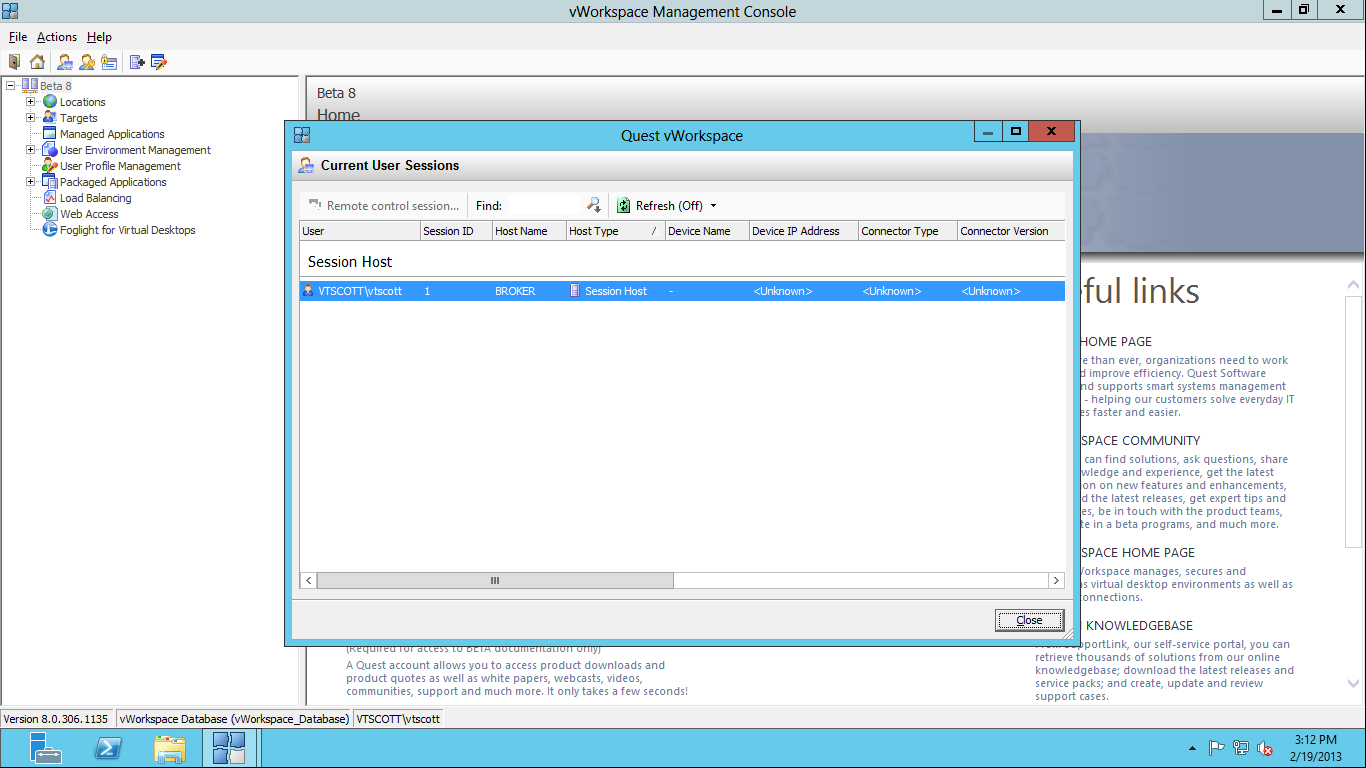
There are four options: Current user sessions…
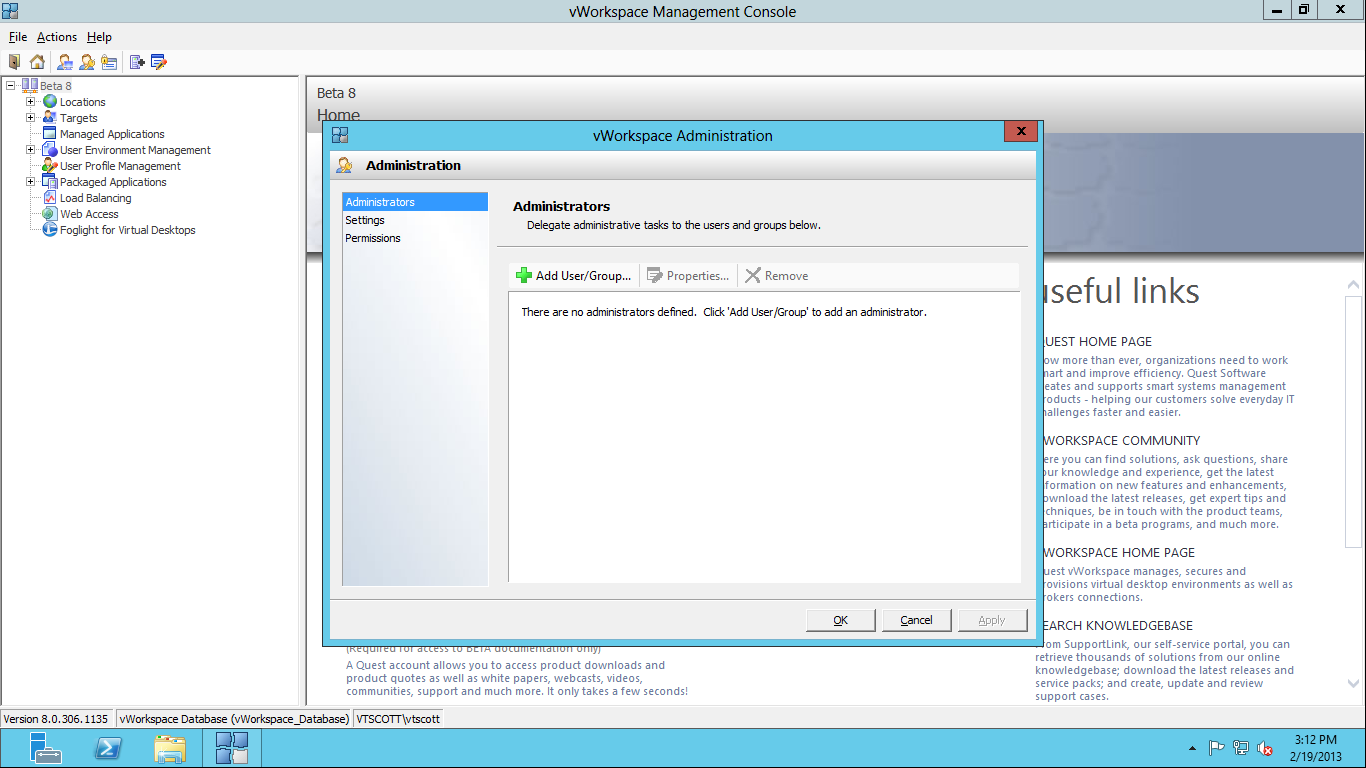
Administration…
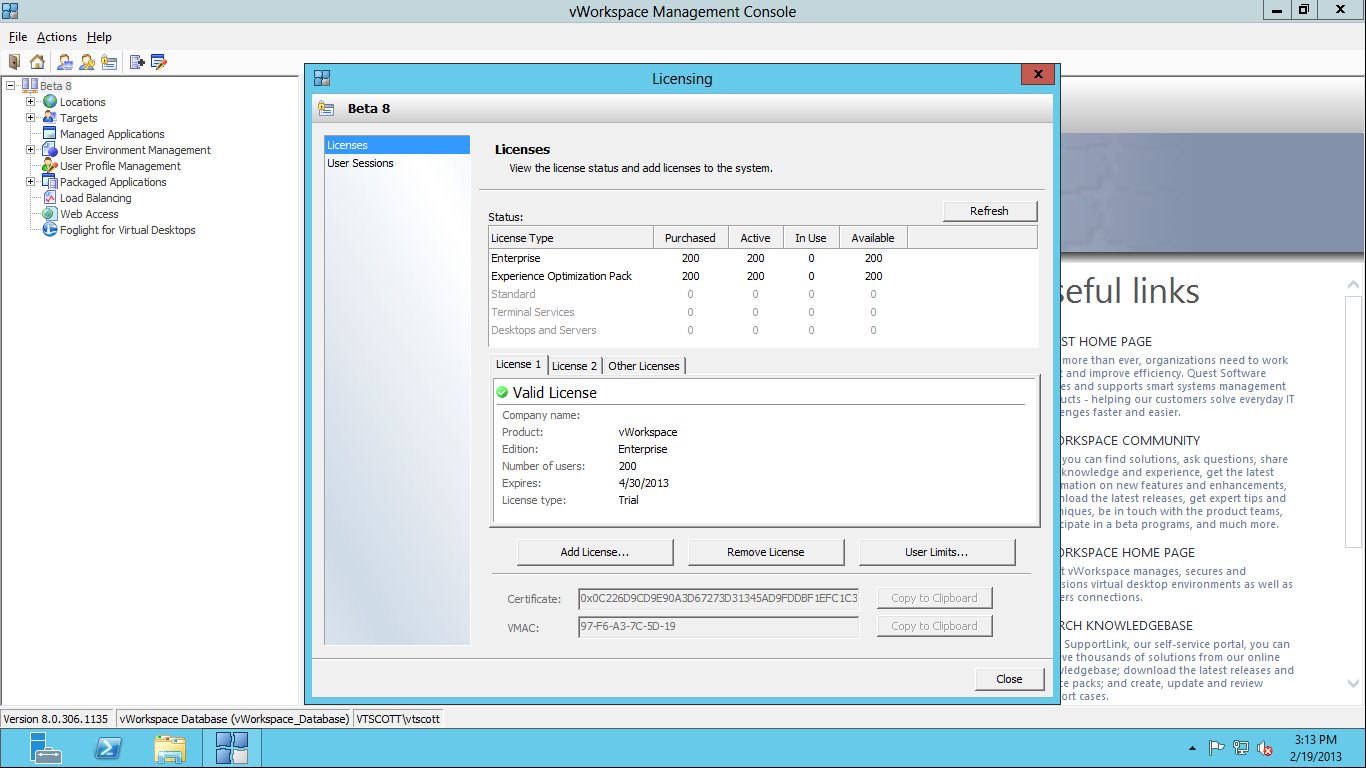
Licensing…
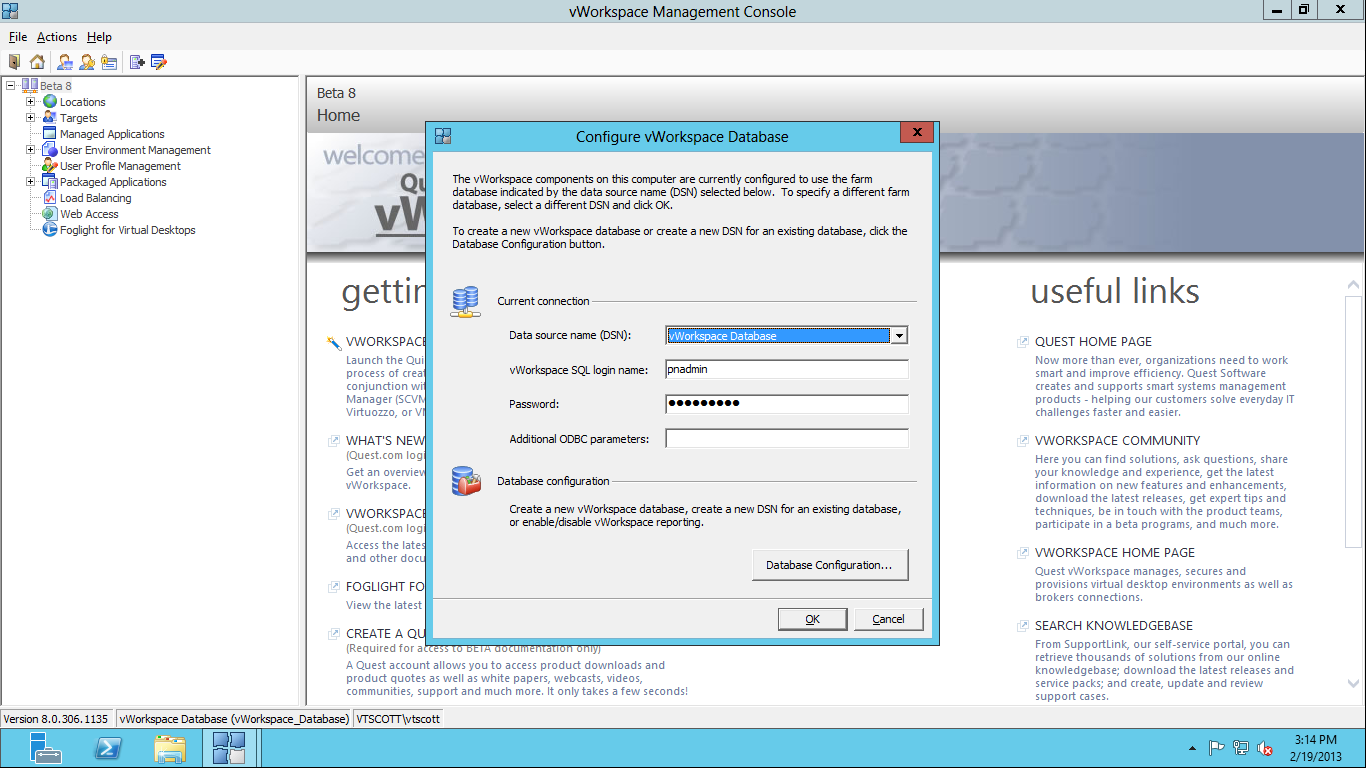
and Database Configuration…
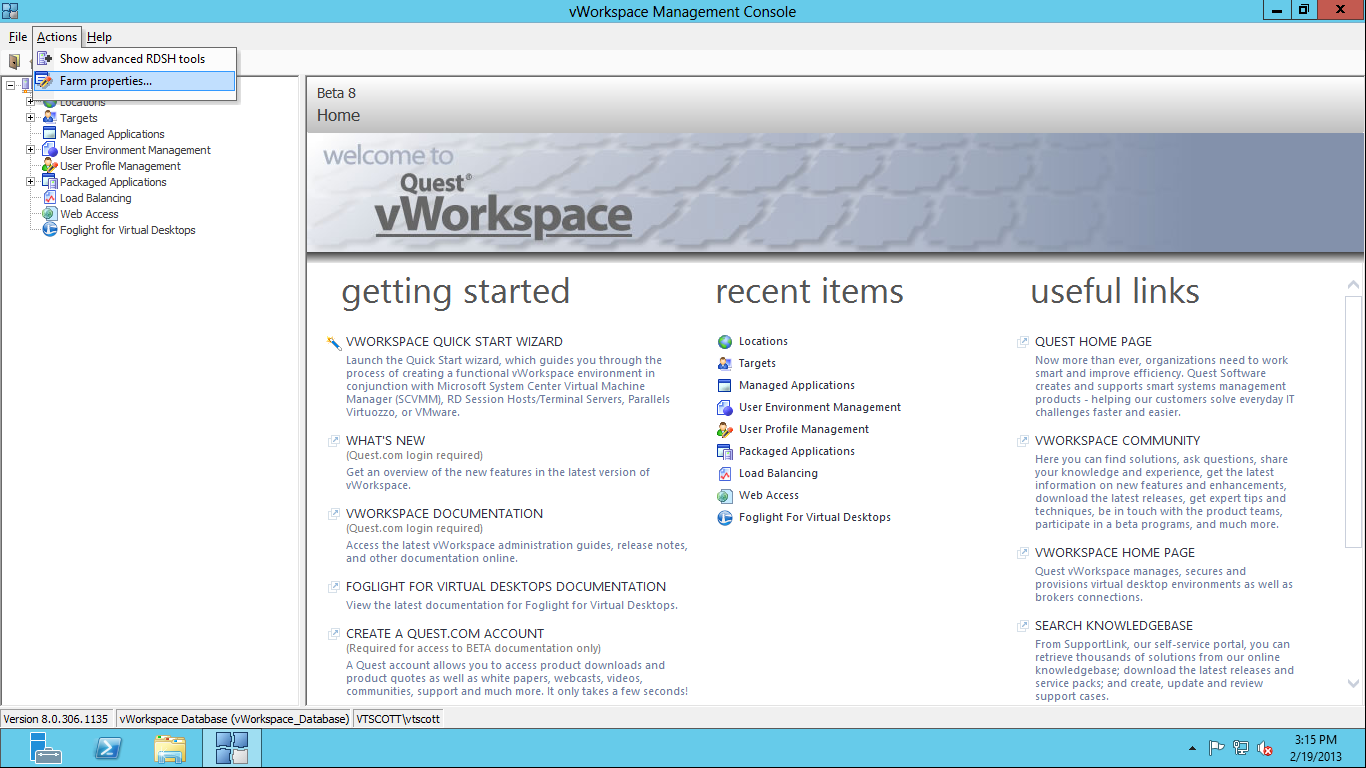
The Actions file menu is created dynamically when an abject is selected in the left-hand pane. Let’s configure the vWorkspace Farm. Click the top node of the left-hand pane then Actions and Farm Properties.
The first tab of the Farm Properties allow the farm name to be renamed. I named my farm Beta 8.
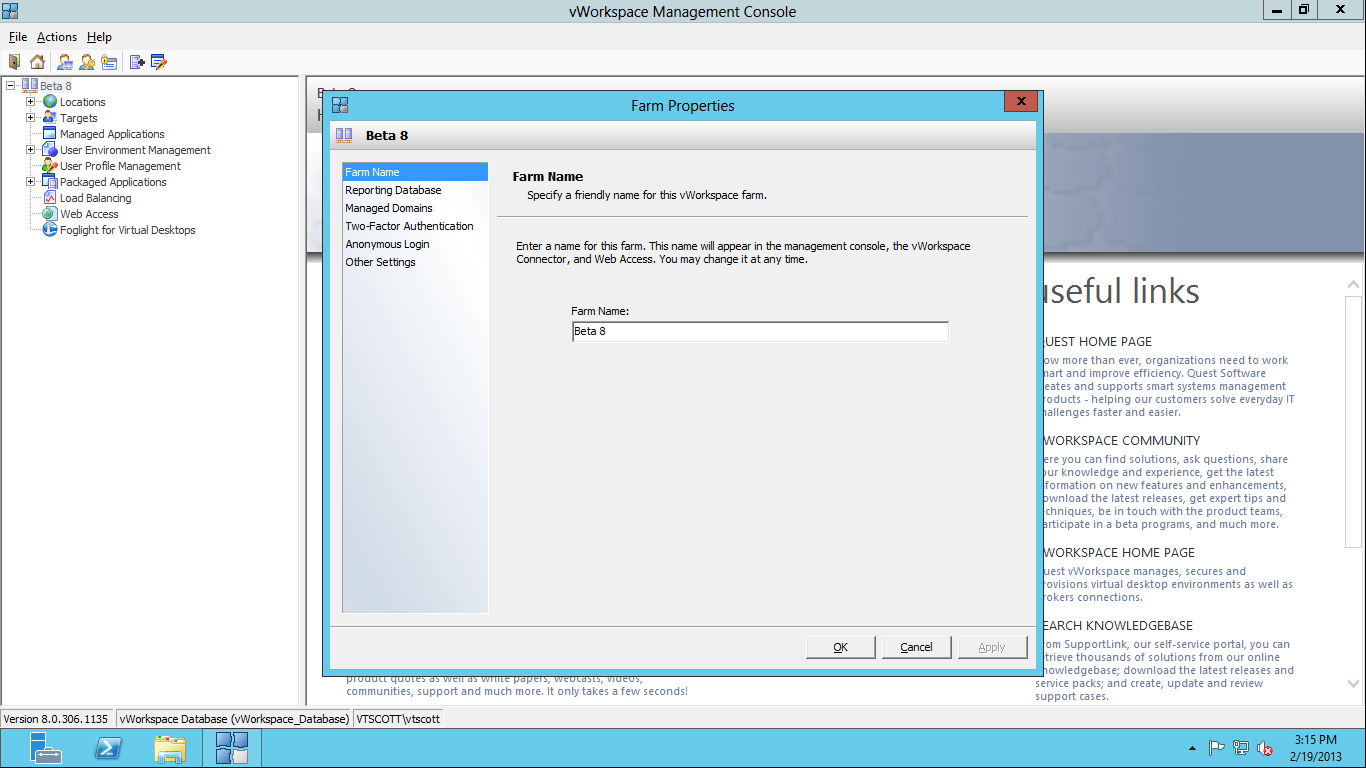
The second tab is Reporting Database which allows an administrator to setup data expiration and data purging. The report database has not been configured so there are no options active.

The next tab allows for configuring management domains. For my installation, the local machine (BROKER) and my domain (VTSCOTT) have been configured.

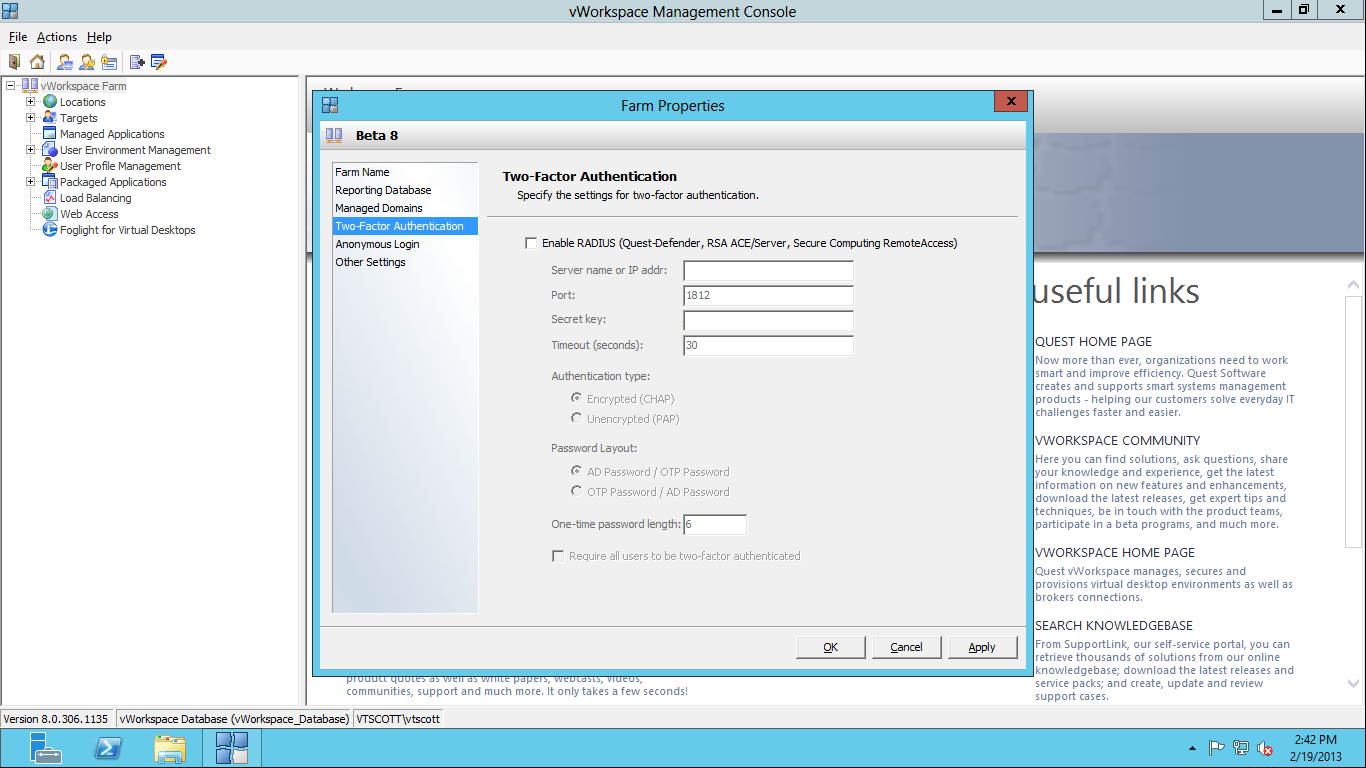
vWorkspace can be configured for two-factor authentication using the next tab. I do not have this function in my lab environment.
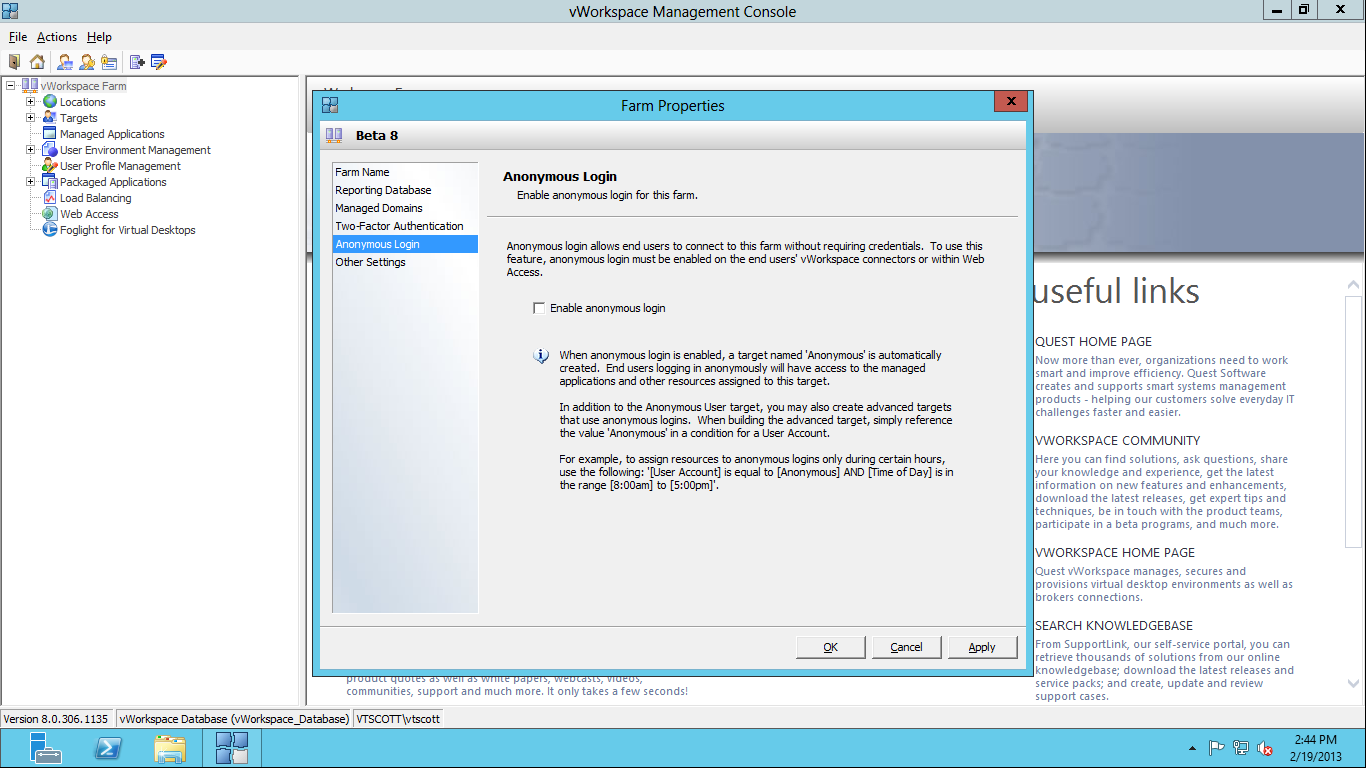
The next configuration option is Anonymous Login. I do not recommend leveraging this function but it is available.
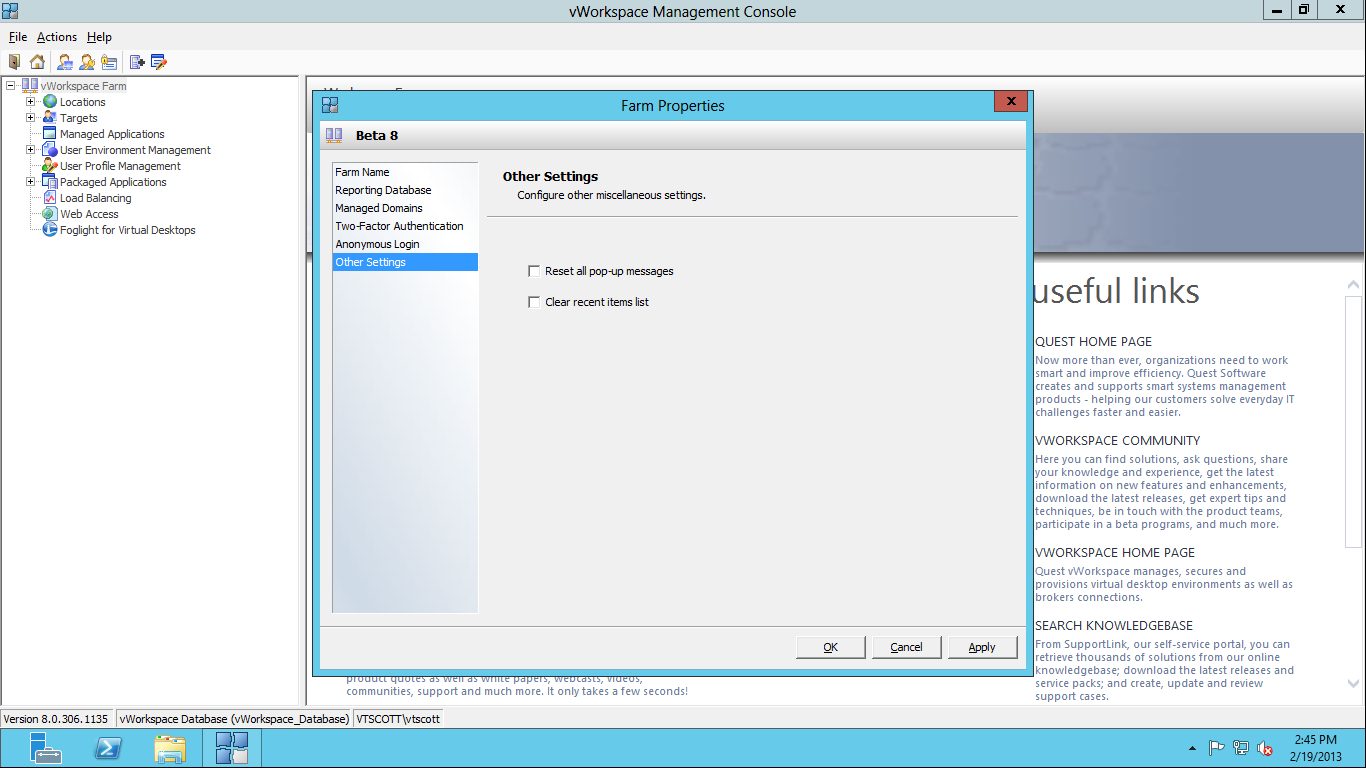
The final Farm Properties option is called Other Settings. On this tab, pop-up messages can be reset and the recent lists can be cleared.
At this point, we have licensed the environment and have configured the Farm Properties.
Tags: beta, configure, vWorkspace